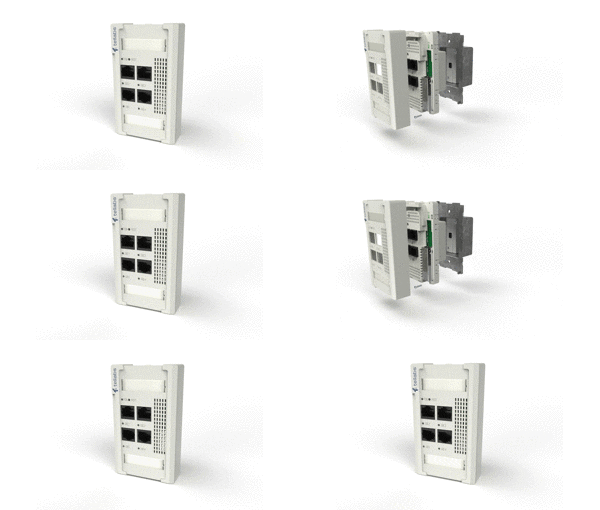
The modular design of our ONT140W allows for installation to be completed in three easy steps that reduce labor costs and risk of damage.
Designed with the construction process in mind, our in-wall ONT installation process follows how buildings are built, allowing easy termination and installation without ever risking the ONT to construction damage.
1. Mount the Power Module in the wall
It all starts with the Power Module. This module gets installed into a single- or dual-gang box during construction, typically right after the sheet rock is installed. The fiber is terminated and the power cable connected. Once tested, the power module is ready to go.
The power modules are sold in packs of ten (10), so there is no need to bring all of the ONTs on-site, open boxes, remove the module, repackage the ONT, and get the ONTs back off-site during construction.
2. Snap in the ONT with fiber termination
Once construction is complete, the walls are painted and locks are on the doors, you can bring the ONT140W electronics on-site, clean the connectors, and snap the ONT into the power module. Our Panorama management systems automates configuration with software-based global policies you have created. You never have to connect a device to the ONT to configure it – in fact, you can’t, by design. Try that with your typical managed switch!
3. Clip on the Faceplate orderable in any color you choose
Lastly, you clip on the faceplate and document the installation. You can use our web-based Panorama interface to verify the status of the ONT from your phone or tablet. And, if there are any tenant improvements in the future that change the wall colors, you can always circle back to order new faceplates in new matching colors.
